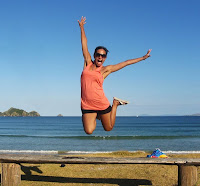
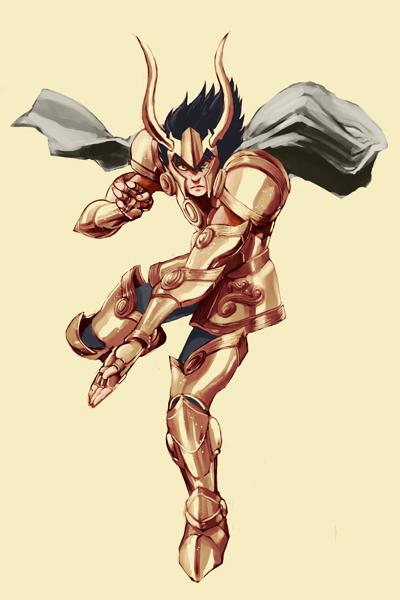
The best digital drawings or paintings in Photoshop are often a result of a well though out sketch, a talented artist, and a strong understanding of Photoshop and the tools that it provides. In today’s tutorial we will review some tips and tricks when working with a digital tablet and Photoshop. The artwork we will use is a fan art illustration of the Knights of the Zodiac character, Capricorn Shura (Masami Kurumada) that I drew.
Step 1
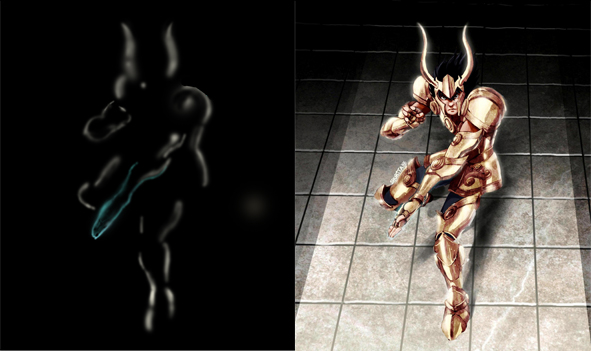
First we start doodling the pose of our character. At this stage you should pay special attention to the overall shape.
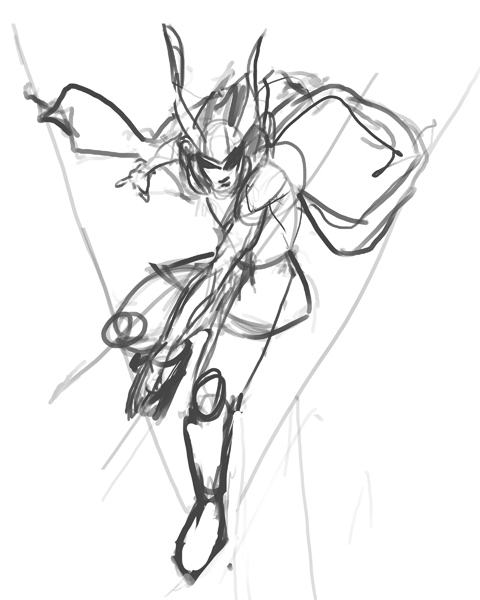
Take a look at how the character was drawn inside a V.
Step 2
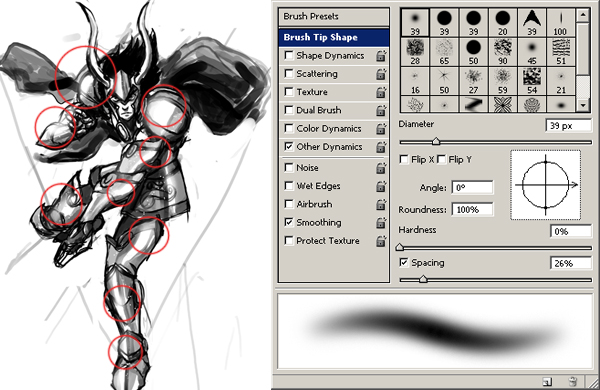
Once you have chosen the right pose, keep sharpening the character’s details. For these stages I recommend that you use a Hard Brush with opacity set to pen pressure (both for the brush and the eraser).
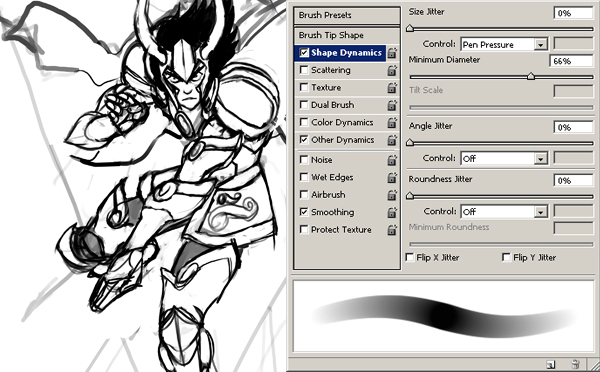
Whether you work in a single layer or more is up to you, although at the end of the tonal work (black and white) you should have it all merged in one single layer.
Step 3
The key to successfully reproducing any real life-like material is observation, in this case, gold. Gold reacts to light like metal and chromed materials do. Shadows, midtones and highlights are abruptly separated, making fast transitions between them. Try to use no more than four tones for armor. Render the shadows with the same brush as we have done before. If you like, lower the opacity of the brush to 70-80%.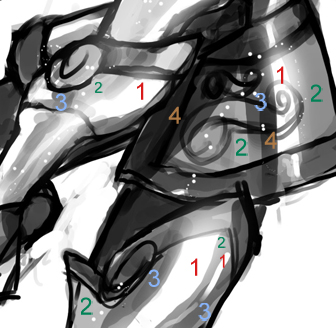
In the largest highlighted areas you will have some sort of glow. Use a white soft brush for this.
Step 4
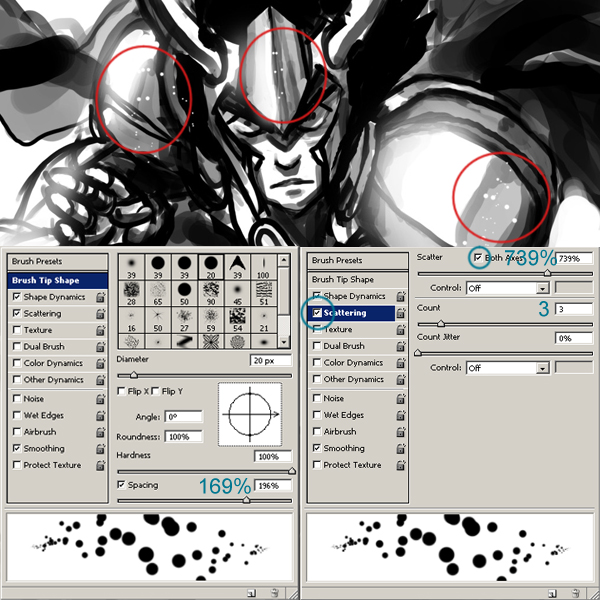
Keep enhancing the image until it is polished. We will start adding some texture to the armor parts with a custom brush. This will provide a rusty feel to it.
Step 5
Final tonal work. To polish the image zoom in and work the edges.

Step 6
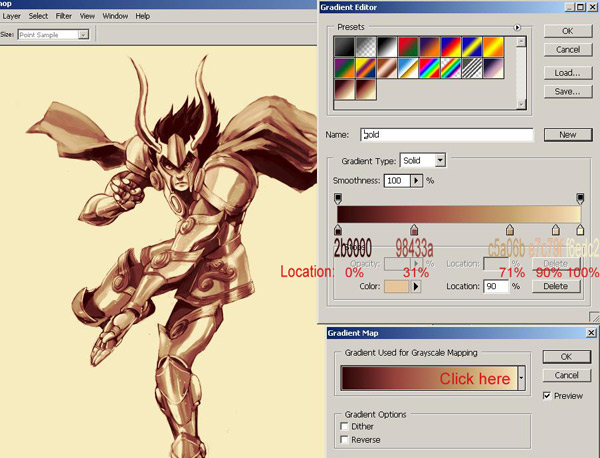
For the basic colors we will use gradient map Layer > New Adjustment Layer > Gradient Map. Consider it as a highlight midtone and shadow color (and tonal) picker through gradients. The first color of the gradient will replace the black. The last color will replace the white. In between all the grays will be replaced by their respective gradient color. Gold generally has its shadows in a highly saturated, very dark red, going to a desaturated light yellow for the highlights.
Step 7
Now we start working on the gradient map mask. To apply this gradient map just to the armor use a black hard brush to paint everything outside the armor parts. When working over a layer mask you can only use black and white: Black hides and white reveals the gradient map. Then Ctrl-Click over the gradient map mask to select all the armor parts. Go to Select > Save selection and name the selection. We will be using this selection further on this tutorial.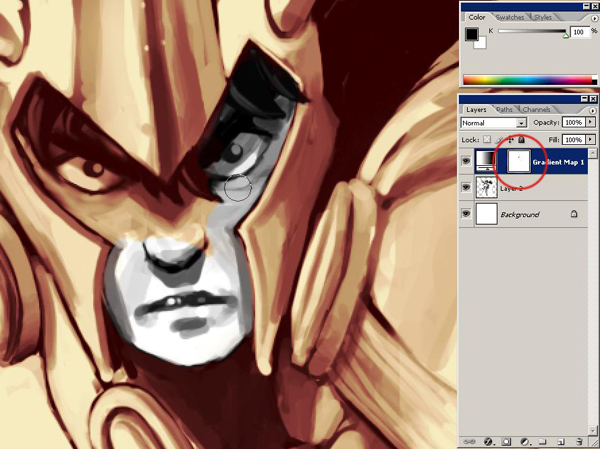
Repeat the process until you have your entire figure colored.
Merge down all your gradient map layers along with the black and white layer. Select the character silhouette using the lasso tool (L). Ctrl + Shift + I to invert the selection. Hit Delete over the layer where you have your character in black and white. Now you have the character in one layer.
Step 8
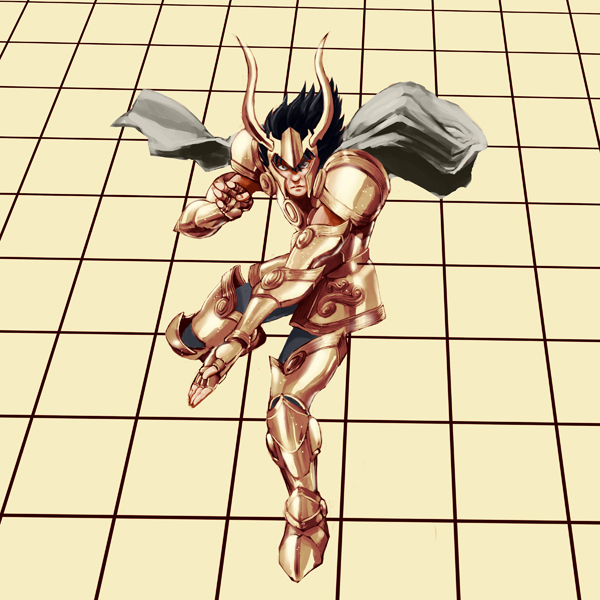
Create a new layer underneath to work the floor. I created a grid (there are several ways to do this, though here I used a brush taken from Geoffroy Thoorens Djahal site). Free transform to this layer Ctrl + T and then while holding down Ctrl drag the vertex to play with the perspective.
Step 9
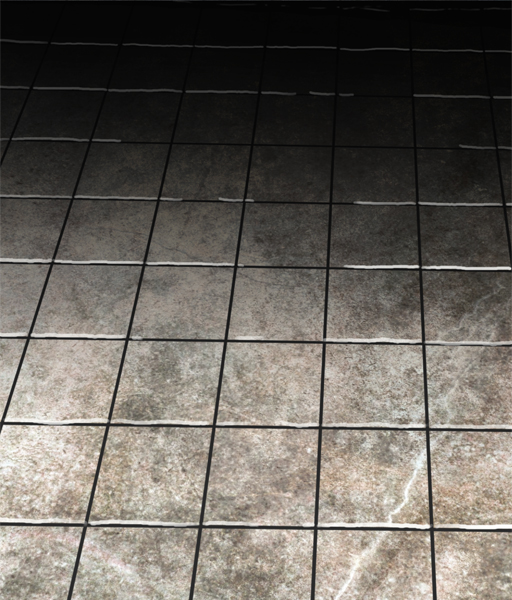
Merge down two stone textures (Cgtextures.com) with different opacity under the grid layer. With a desaturated light yellow color add some lines to the "tiles" in order to give them height.
Step 10
Add a desaturated dark blue gradient in a new layer from top to bottom to add some depth.

Step 11
In a new layer over the floor’s layer and under our character’s, set the layer mode to multiply and with the same color of the gradient draw the shadows, pay special attention to the perspective. Lower the opacity of this layer.
Step 12
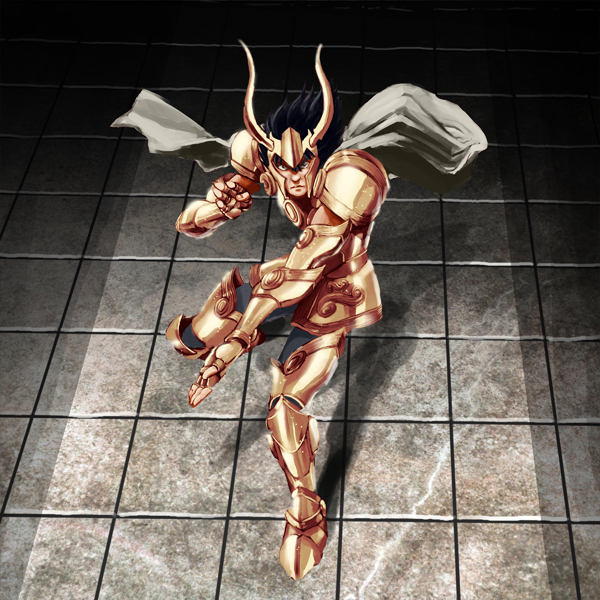
Ctrl-Click over the layer where you drew the shadows to select all its pixels and then hit Ctrl + Shift + I to invert selection, this way we can work the lights without modifying the shadows. Create a new layer and make a gradient from bottom to top with a desaturated light yellow. Merge down all the floor layers into one. At this stage I decided to take out the cloak (just erase the cloak over the characters layer)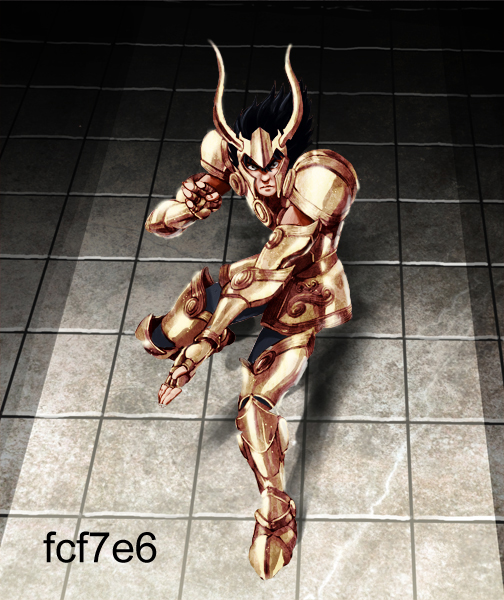
Step 13
Duplicate the character’s layer and Ctrl + U (Hue/Saturation). Colorize option on and go for a slightly desaturated blue.
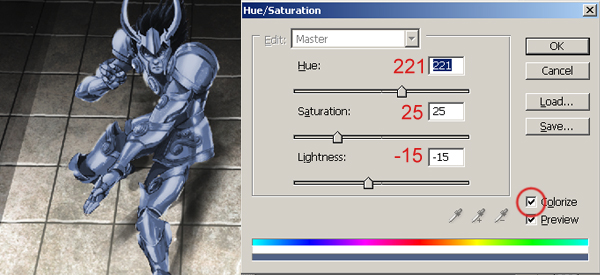
Change this layer into a soft light layer mode and lower its opacity to 75%.
Step 14
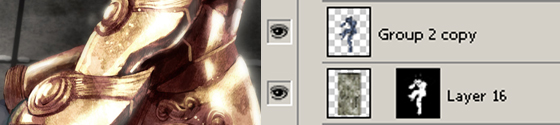
Create a new layer underneath the characters layer but over the last created layer. Load the saved armor selection Select > Load selection and search it in Chanel. Create a layer mask with this selection. Open a stone/rusty texture file and paste it in this layer. Change the layer mode to soft light.
Step 15
A nice trick to add some soft glows is to create a new layer on top of your layers and set it to screen layer mode, fill it with black and then stroke with a soft brush at the edge of the figure with a yellow color.
Step 16
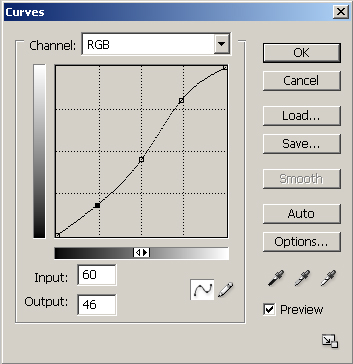
Create a new folder and place ALL your layers. Duplicate the folder and merge down this new duplicated folder. Hit Ctrl + M to adjust curves settings.
Duplicate this layer and add a Gaussian blur filter (1.5 px to 2.5 px). Erase the parts you want to feel closer to the camera. Reduce this layer opacity to 30-40%.
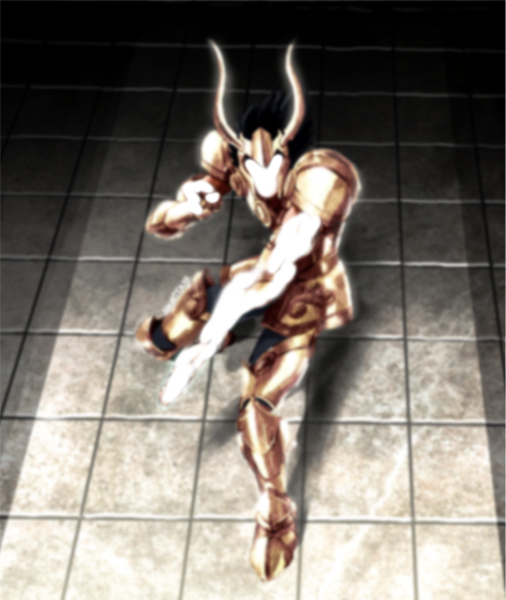
Final Image
Creating a professional-looking comic book fan art character in Photoshop is not easy and it is not something that you will be able to learn over night. Mastering these techniques will take time and practice. Hopefully, the techniques that we covered in this tutorial will help you to master the art of digital comic book illustration.